
Bullet Journal 101
So you are new to Bullet Journals... you've seen these gorgeous pages all over social media and maybe in person... You feel confident that this something that you want to do, you can do... BUT you are lost on how to start. You are in the right place!
I'll break it down into the FOUR essential page layouts that anyone can create today!
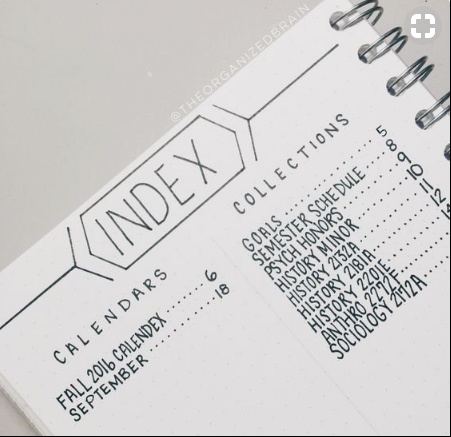
Page Layout 1: Index
This is your master list! Once you create the page, you will add content as you build your journal. It's your journals table of contents, containing the names of other lists you will create with references to the page numbers where they live. Easy to create and pretty darn handy.
- Number the first 25 pages in your book, starting with page one (first lined or dotted page, typically on the right side of the journal)
- Open to the second and third page of your journal
- Lightly fold the page in half only creasing the page in a few places. You will do this on both page 2 (left side) and page 3 (right side)
- Write in any font on the top line of the left page "INDEX"
- Using a pencil and the straight edge of a ruler, lightly mark a line down the center of the page (over the creases)
- Take a look at the pages, make any adjustments you may want
- Let's set it. Using a marker or pen write over the word Index
- Using a highlighter and your ruler, highlight the line down the center of each page
- On the first line, write "2-3 INDEX"
TIP: Add a piece of tape to the top corner of page 3 so you can quickly make updates
You will update this INDEX everytime you add new pages to your journal. Feel free to color code the content as you add to it so you can quickly skim it to find what you are looking for. As an example, I use a grey highlighter for Monthly and Weekly layouts. Here are some samples:


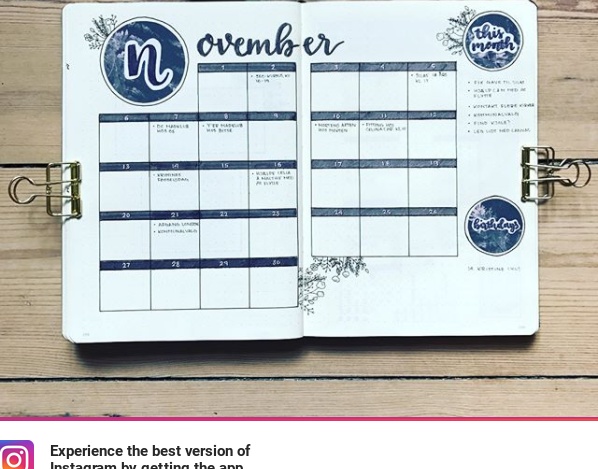
Page Layout 2: Yearly Layout
This is one of my favorite parts of Journal creation. While it is the longest to set up, it is well worth the work, and is referred to month after month. Creating a year at a glance calendar is your opportunity to pen a calendar in your own handwriting, which enables you to become intimate with the days of the month, how they correlate to dates, and the number of months that you will be tracking in your calendar. Whether you want to track 18, 15 months 12 months, you will recognize where certain critical dates lie in each one of those months.
- Flip to pages 4 & 5 in your Journal
- Click on the video below
- Look at the samples for other options
- Use a pencil and hop to it
- Update your Index when your done
TIP: Go through each month and circle important dates.


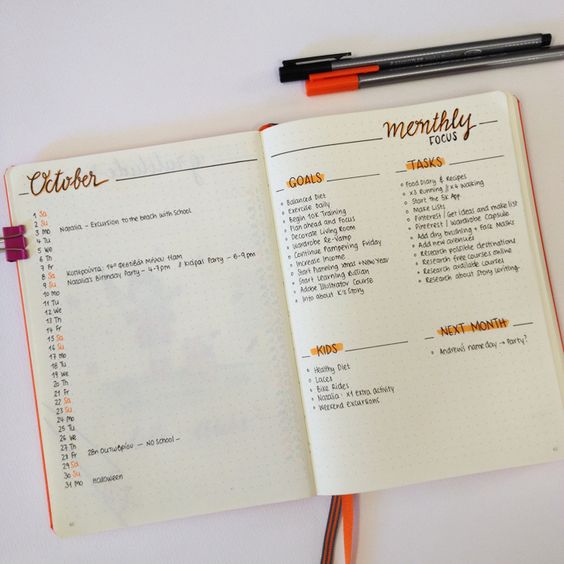
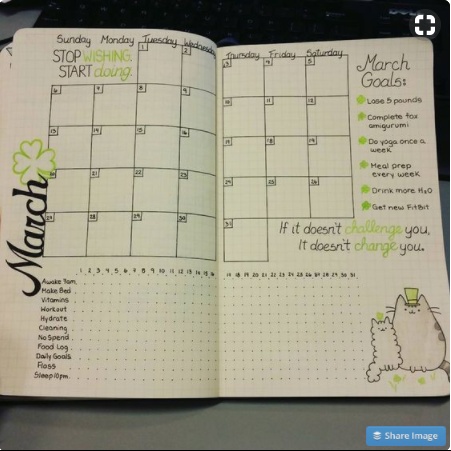
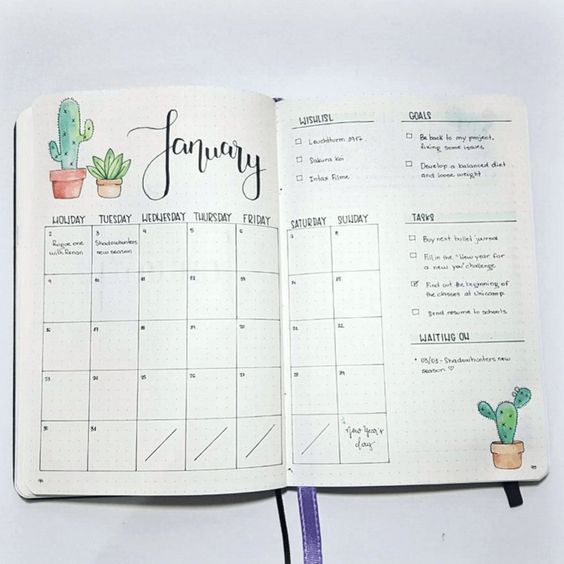
Page Layout 3: Monthly Layout
- Go to page 6 & 7
- Using your pencil add the name of the current month on the top line of page 6
- Running down the left side of the page, begin with 1 and number the lines all the way down the page until you have hit the last day of the month
- Going back to 1, write the initial of the day of the week the month starts on - so M for Monday or TH for Thursday to the left of the number
- Keep going, adding the rest of the days of the week until you hit the last day of the month
- Double check the dates and the days. Once you are satisfied, overwrite the pencil with a marker or colored pen of your choice
- When the ink has dried, erase the pencil lines
- Using a highlighter, highlight every Saturday and Sunday letter and number. This helps to visually call out the weekends
- On page 7, I recommend adding a place for Monthly Tasks - you know things that you intend to complete in the month (#Goals)
- You can also add progress trackers and habit trackers (see the video for how) or skip it and add photos, quotes, and doodles
- Embellish with artwork, stickers, or Washi tape for color and fun
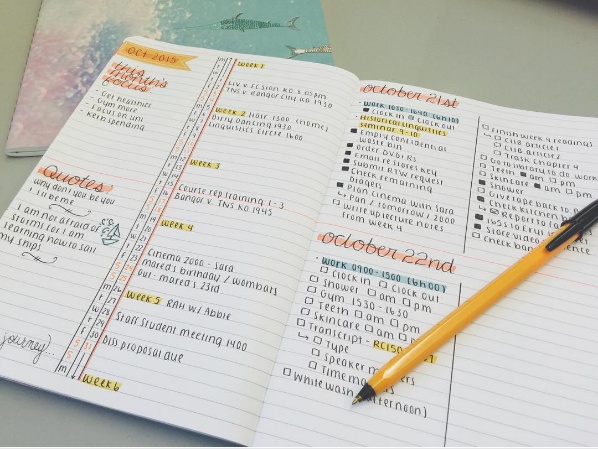
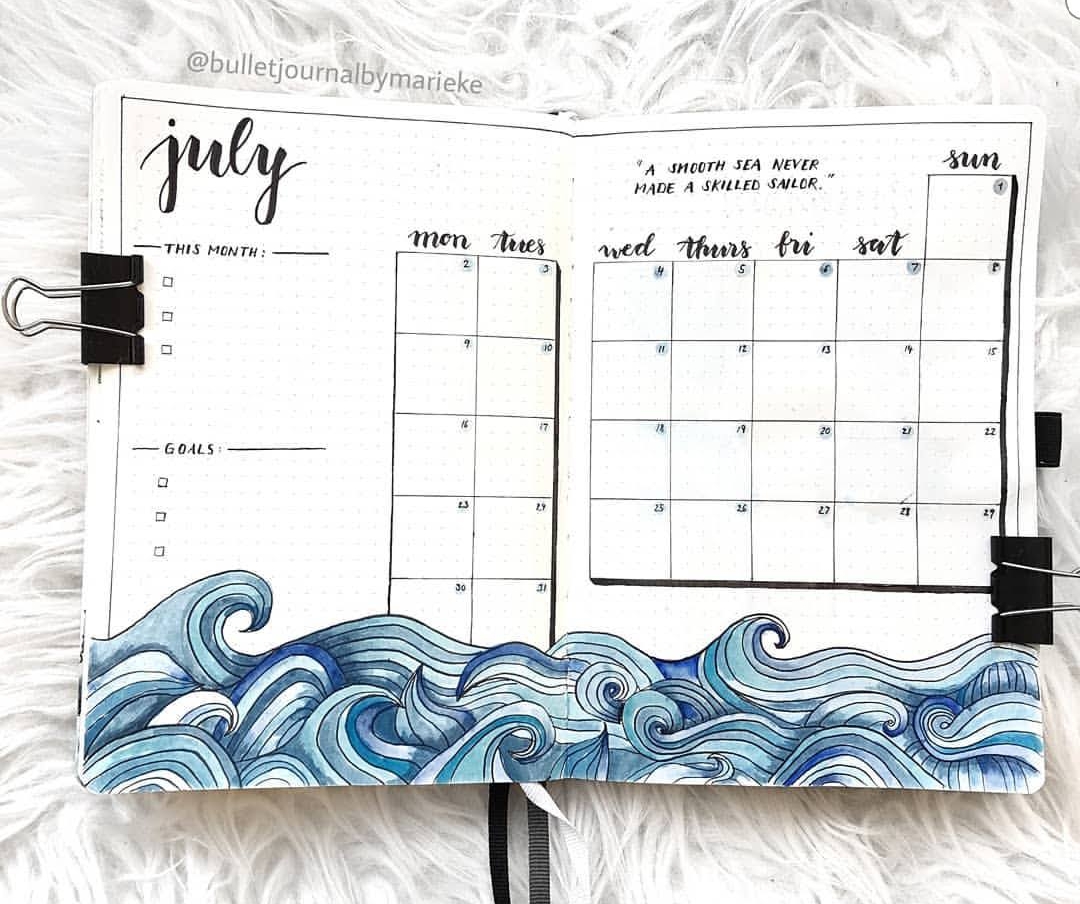
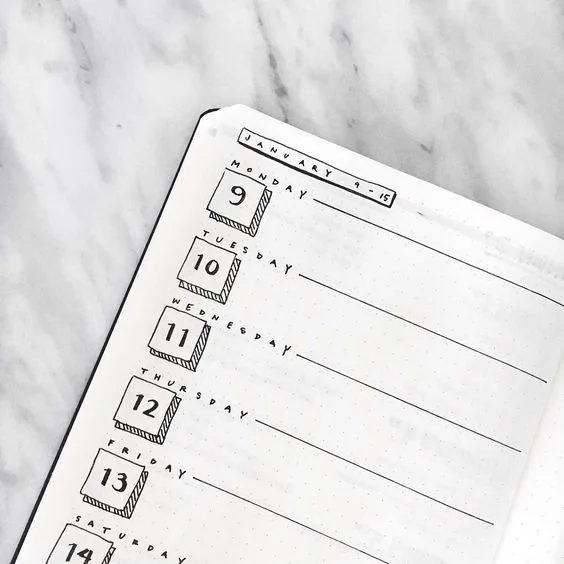
Page Layout 4: Weekly Layout
- The first example in the photos below is really the easiest. Putting all 7 days of the week on 1 page is fast. It doesn't give you a lot of room if you have a lot of tasks for a given day, a schedule that you want to follow, or space to journal the best parts of the day
- Picture three has 4 days on the left side, and 3 days on the right (not shown) with a space for goals (treat it like the fourth day on page two). More room, and still simple
- I personally like photo #8, columns instead of rows
- Experiment. Search social media for layout examples and copy them


What's next?
- Simply repeat the weekly layout until the month is over, and then, well.... create your next month!
- Experiment, play, create. You got this!
Leslie Grossman is the founder of Stitches By Leslie, Inc. and the creator of the patent pending Journal Mate. For more information, reach out!